Golf Course Review by: Billy Satterfield
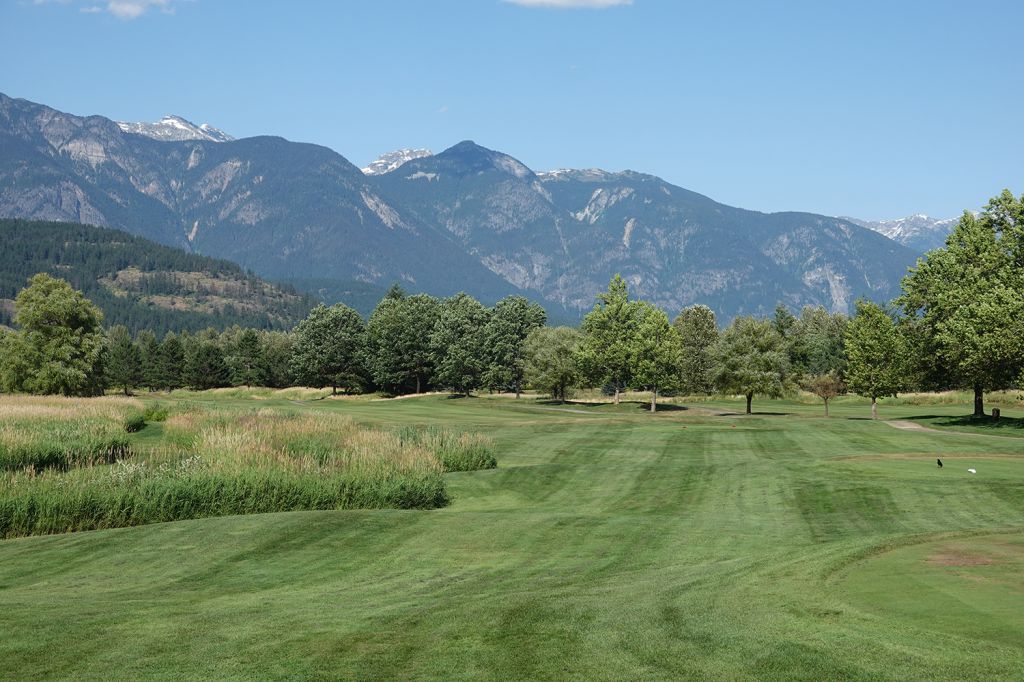
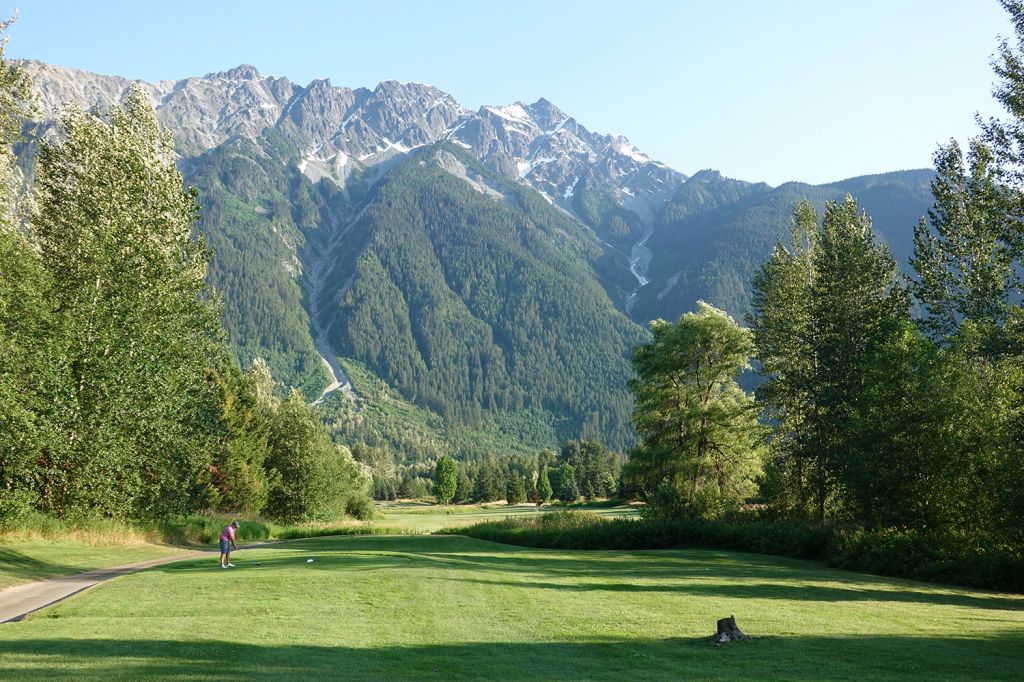
The Takeaway: Offering the best mountain views of all the courses in the Whistler area, Big Sky is on relatively flat terrain but offers stunning backdrops. Less busy and more scenic than others in the region, it’s a must play. Grade B
Quick Facts
Designer: Bob Cupp 1993
Cost: $95 - $185 ($30 for a cart) Click for current rates
Phone Number: 604-894-6106
Course Website: Official Website - Visit Big Sky Golf Club's official website by clicking on the link provided.
Directions: Get here! - 1690 Airport Rd, Pemberton, British Columbia V0N 2L3 – CANADA
Photos: See additional photos of Big Sky Golf Club
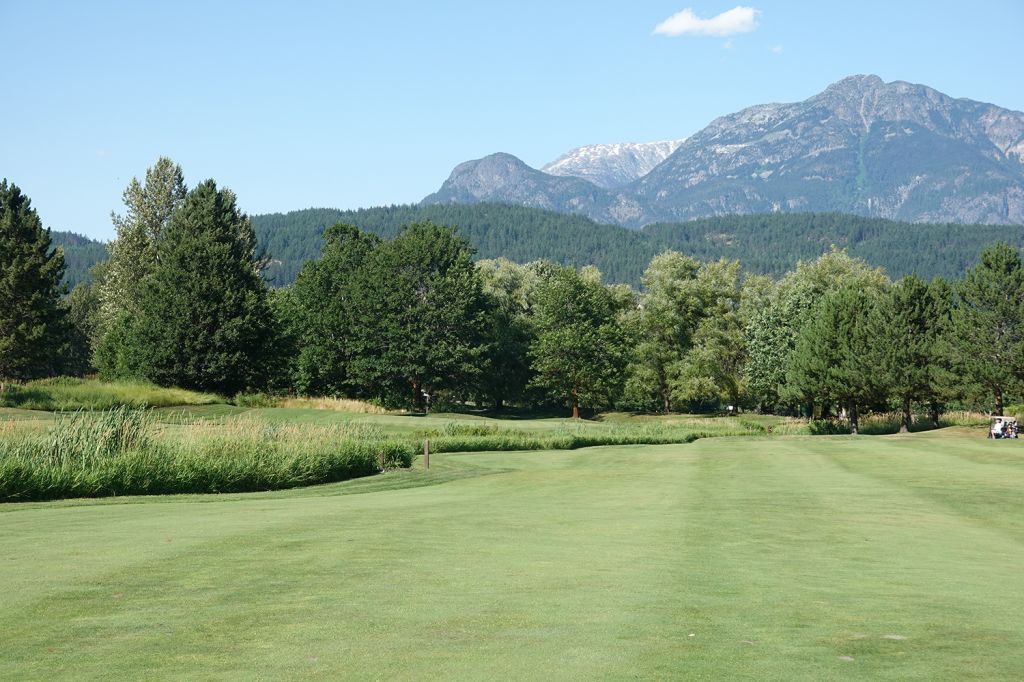
What to Expect: The best mountain views of all the courses in the Whistler area, Big Sky is located 35 minutes from the city center and offers a remote setting that will deliver plenty of eye candy. The Bob Cupp design lays on terrain that is mostly flat but utilizes the marshy land to create hole designs with engaging features and requires some quality shots to navigate. While plenty of bunkers are in play, it is the water that is found on 16 of the holes that will stand out as the most challenging feature to navigate. Anyone that visits Big Sky will walk away with one strong impression; the views of Mount Currie truly are spectacular. The mountain backdrops at the course are a constant reminder of being located in Canada’s beautiful country. Generally less busy and more scenic than the immediate Whistler courses, you’ll enjoy the pace of play at Big Sky but you’d be wise to bring bug repellent with you as they love the marshy areas during certain times each season. While you might expect to be located at a high elevation, the course sits at less than 700 feet and plays more like sea level compared to what you’d find in Banff. While most patrons will choose to take a cart, Big Sky is very walkable which can enhance the experience.
By the Numbers
| Tees | Par | Yardage | Rating | Slope |
|---|---|---|---|---|
| The Big (Black) | 72 | 7001 | 73.8 | 130 |
| Black/Blue | 72 | 6753 | 72.4 | 128 |
| Blue | 72 | 6496 | 71.0 | 127 |
| Blue/White | 72 | 6259 | 69.9 | 127 |
| White | 72 | 6037 | 69.0 | 121 |
| Green | 72 | 5617 | 66.7 | 115 |
| Red (Ladies) | 72 | 5208 | 70.3 | 118 |
Individual Hole Analysis
Signature Hole: 14th Hole – 454 Yard Par 4 – Aptly named "Hang Time," the 14th is a stunning hole with Mount Currie creating an unforgettable backdrop that you'll love watching your tee shot fly towards. The hole plays directly south along the western boundary of the property with o.b. right and a fairway bunker on the left, so there aren't a lot of good options other than striping one down the fairway. Things don't get easier with the approach shot as players are staring at a green that is flanked on the left by three bunkers and a water hazard, with the putting surface angled such that it calls for a draw that overdoing will have a sad ending. Whatever result you have on this hole, the visual of your ball hanging in the air with Mount Currie in the background is something you'll hold onto forever.

Best Par 3: 17th Hole – 216 Yards – The longest one-shotter on the course, the 17th features one of Big Sky's most iconic backgrounds with Mount Currie and the Coast Mountains creating a stunning visual. Water is on the right and bunkering on the left, so there is nowhere to bailout enroute to the green. The front is wide though, so chasing one on the ground up to the flag is a viable play, although most players will elect to make an aerial attack.
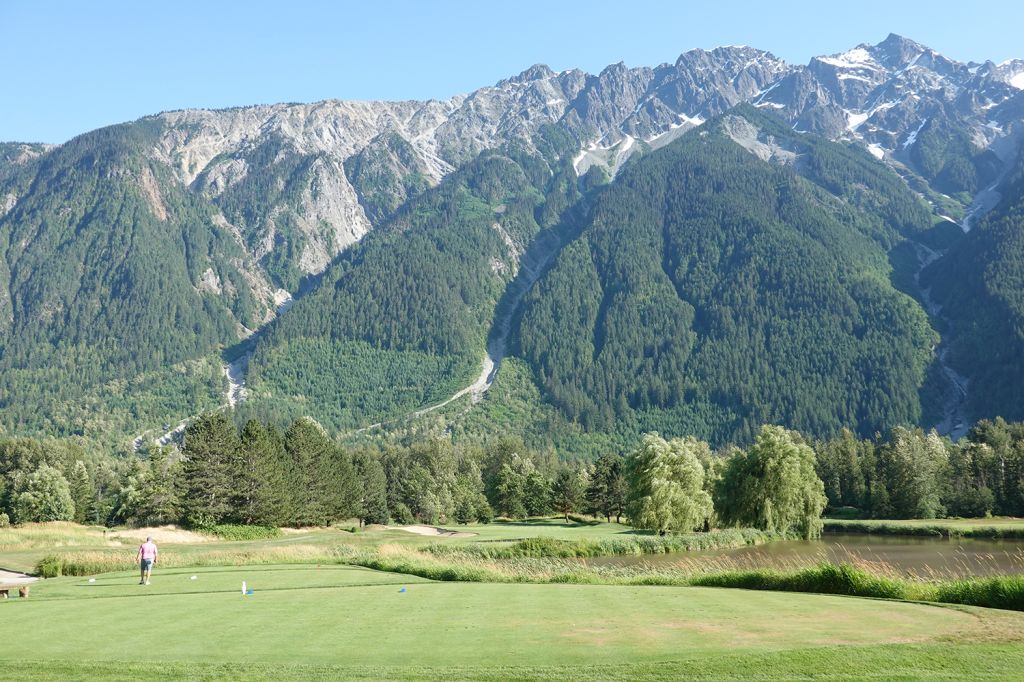
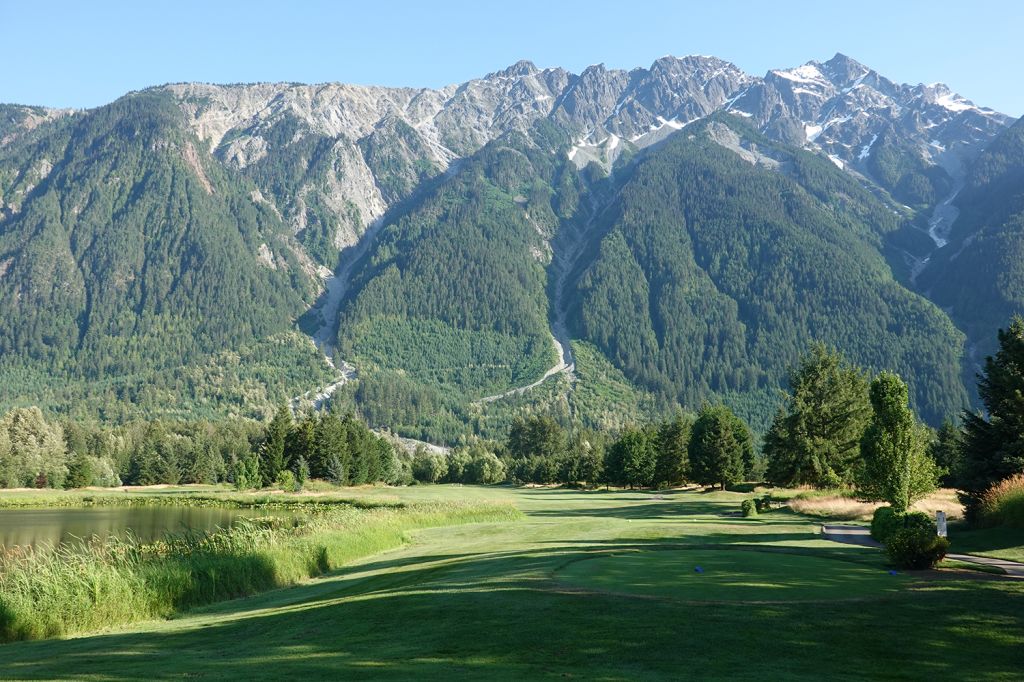
Best Par 4: 1st Hole – 450 Yards – Big Sky wastes no time taking players straight to the mountains with a beautiful background to hit towards with the opening hole. The hole bends gently left around a pond, but only the worst of tee shots will find the water as it barely stretches beyond the forward tee. The bunkerless hole may seem like a gentle handshake, but with 450 yards to cover and likely no warmup, it can be a stout start to the day. But what makes this hole so memorable is the introduction to the mountain range that Big Sky is known for highlighting.
Best Par 5: 4th Hole – 600 Yards – Tipping out at a whopping 600 yards, the 4th hole plays straight away so there is no cutting yardage off of it. The key feature to the 4th is the creek that cuts through the fairway not once, not twice, but three times enroute to the green. This hole is all about deciding how aggressive to be on each shot as you'll be challenging the creek every time you swing back a club. Once you get to the green, you'll find a trio of bunkers on the right side of the putting surface that will act as a final defense to par.

Birdie Time: 15th Hole – 336 Yard Par 4 – After coming off Big Sky's signature hole, players get a scoring opportunity with this short par four. The fairway bends to the left and allows players to cut off some yardage if they are willing to challenge the inside of the dogleg where trees act as a defense. With just a solo bunker on the right side of the green, this is a time to be aggressive with your driver and leave yourself a short approach shot that you can wedge tight.

Bogey Beware: 12th Hole – 434 Yard Par 4 – While a hole without bunkers may appear on the surface to be an easier offering, it is generally designed that way because the rest of the hole features are so difficult that adding bunkers simply isn't necessary; and that is exactly what you get on the 12th hole. A creek runs the entire length of the left side of the right fairway, with a second fairway beginning left of the creek about 300 yards from the back tee. Bailing out to the right on the tee shot will deposit golf balls onto a tree line that can prevent a clean look at the green, while players that get aggressive with their attack up the left side can get lost in the tall fescue if the creek doesn't swallow it. The approach shot needs to carry the creek enroute to the green, while noticing that the water hugs the right side of the putting surface. Players that try to fly their drive to the fairway left of the creek will require Tiger-like length and Fred Funk accuracy. This creek will almost assuredly claim at least one victim from your foursome.