 Golf Course Review by: Billy Satterfield
Rankings:

The Takeaway: Tons of elevation changes and serious hangtime on tee shots leave a lasting impression at North Dakota’s best public course. Jim Engh always makes sure you have fun and Hawktree is no exception. Grade B
Quick Facts
Designer: Jim Engh in 1999
Cost: $55 - $85 ($30 for a cart) Click for current rates
Phone Number: (701) 355-0995
Course Website: Official Website - Visit Hawktree Golf Club's official website by clicking on the link provided.
Directions: Get here! - 3400 Burnt Creek Loop, Bismarck, North Dakota 58503 – UNITED STATES
Photos: See additional photos of Hawktree Golf Club
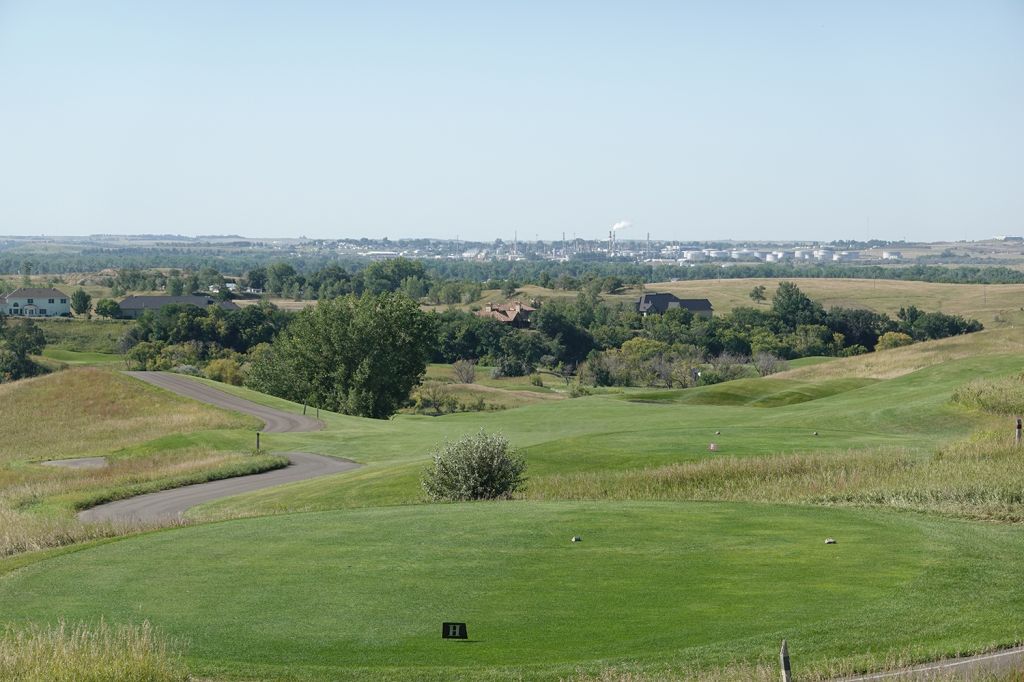
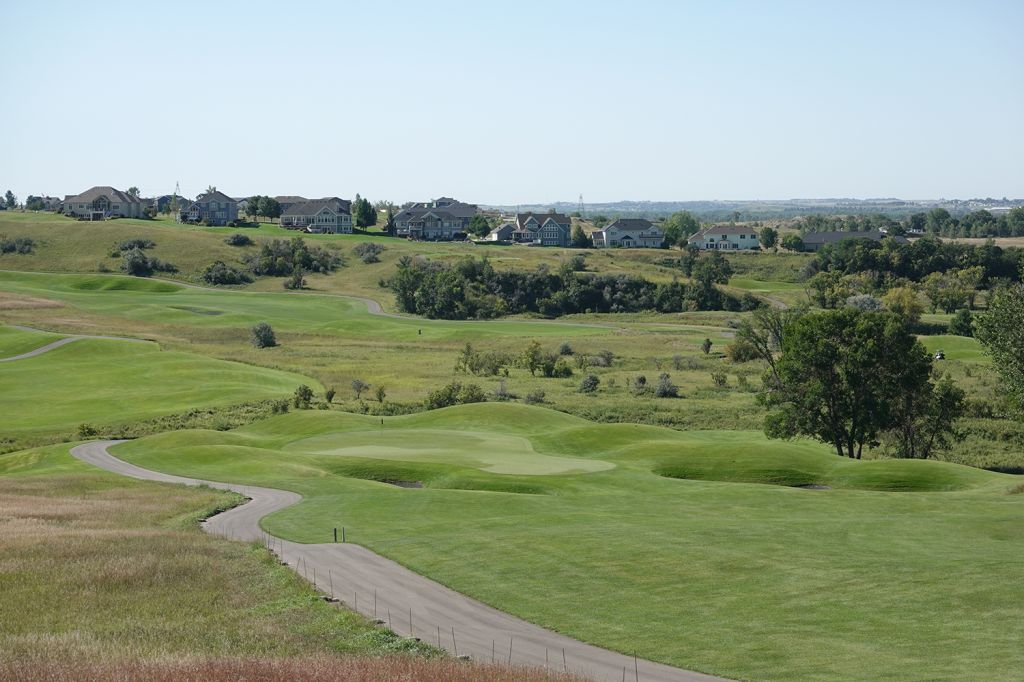
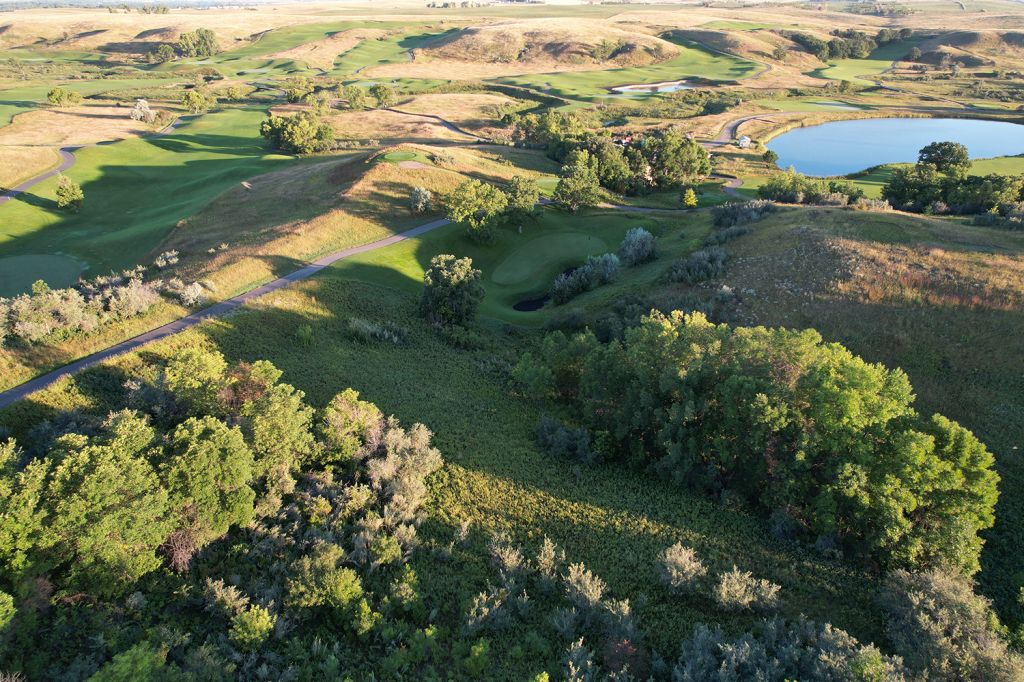
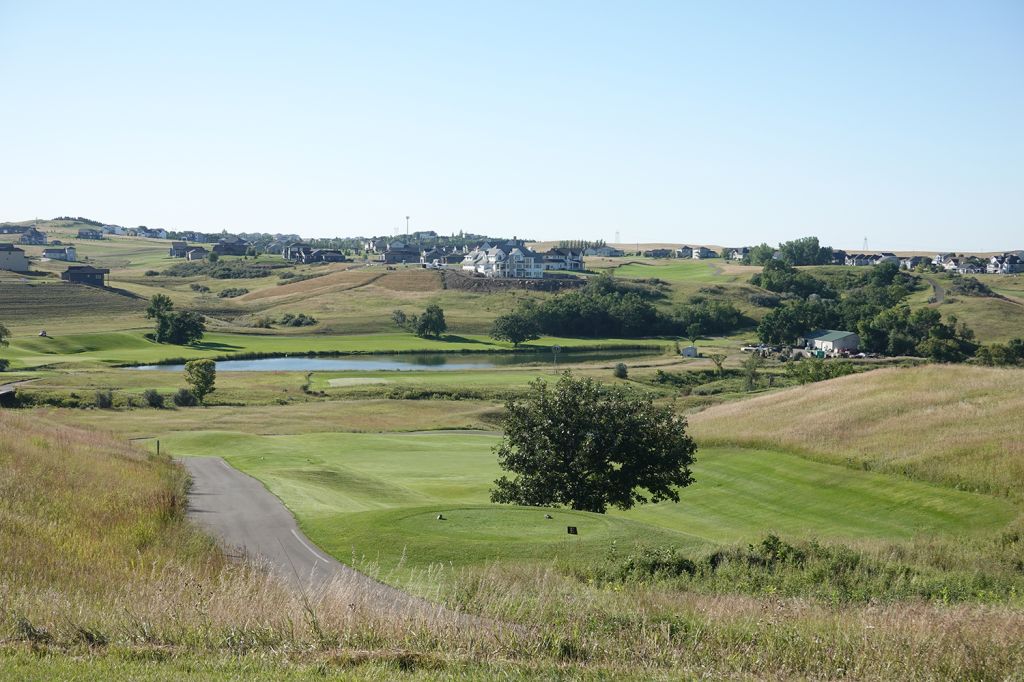
What to Expect: Hawktree is located in a nice neighborhood on the outskirts of Bismark with homes around the perimeter of the property. Like virtually all courses that Jim Engh works on, the thing you are going to notice right off the bat is the amount of movement in the property. Jim doesn't design courses to be walked on; he designs courses to have fun on. As such, there are plenty of elevated tee shots where you can watch your ball soar but that is countered with a handful of holes that have to ascend back uphill and test your grit. Tee shots that leave the fairway can be difficult to find due to the thick fescue style grass that frames many of the holes, so if you aren't feeling confident with your driver you better make sure to hit a club that can find the short grass. You won't find the traditional white sand at Hawktree since it was determined that the high winds that can roll through the Dakota's would whisk it away, as such, black coal slag from a local power plant was used for the bunkers which works perfectly while delivering a unique contrast to the course. The shaping of the bunkers is unique for players that aren't familiar with Engh courses with his "muscle" style shaping paired with pot bunkers dropped in here and there. Water is also a major factor throughout the routing with nearly half of the holes bringing Burnt Creek into play while a trio of others play around ponds. Jim doesn't try to beat players up with his designs and is going to give you plenty of birdie opportunities to take advantage of. In addition, you'll find that the course doesn't play as long as the scorecard indicates due to the number of downhill holes. Those elevation changes will prevent most players from walking the course and encourage them to take a cart. When all is said and done, Hawktree is a lot of fun and the best public course in the Roughrider State. Jim Engh has designed more compelling courses such as Black Rock, Redlands Mesa, and Lakota Canyon, but ultimately North Dakota should be thrilled to have Hawktree.
By the Numbers
| Tees | Par | Yardage | Rating | Slope |
|---|---|---|---|---|
| Falcon | 72 | 7085 | 74.7 | 140 |
| Falcon 2 | 72 | 6902 | 73.8 | 139 |
| Falcon 3 | 72 | 6654 | 72.7 | 137 |
| Hawk | 72 | 6420 | 71.7 | 134 |
| Hawk 2 | 72 | 6028 | 69.9 | 126 |
| Eagle | 72 | 5635 | 68.1 | 121 |
| Eagle 2 | 72 | 5251 | 66.4 | 116 |
| Owl (Ladies) | 72 | 4868 | 68.9 | 118 |
Individual Hole Analysis
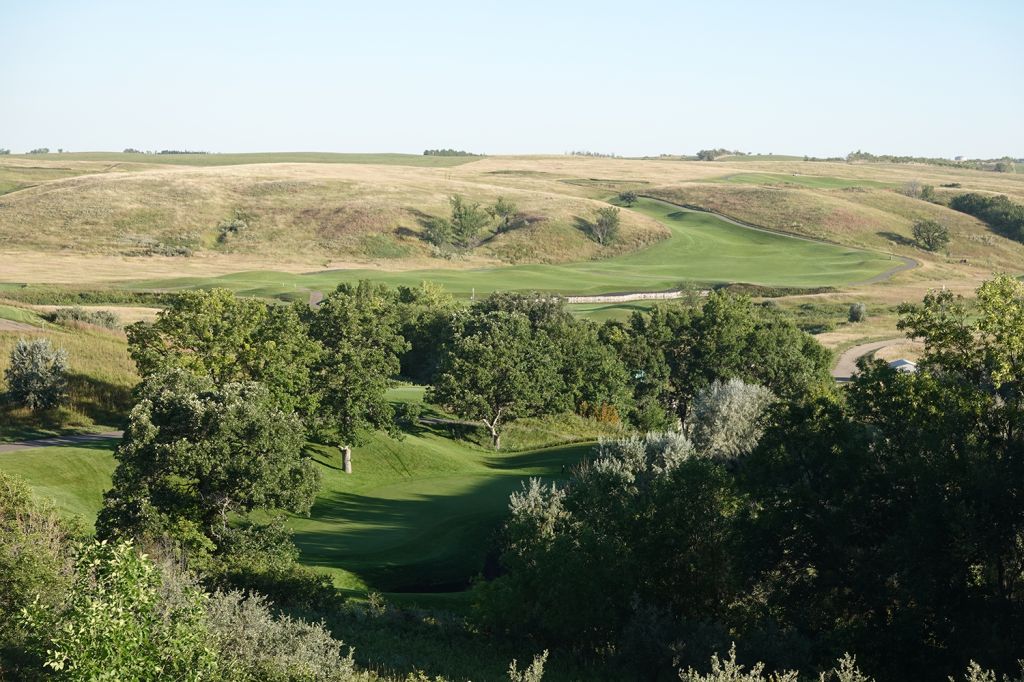
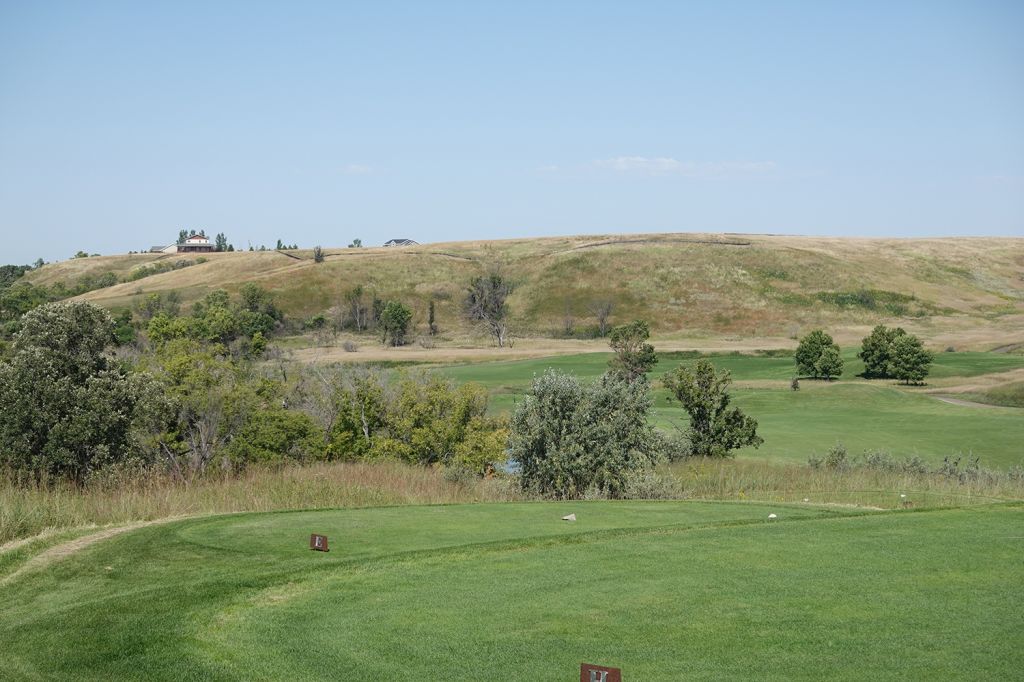
Signature Hole: 3rd Hole – 164 Yard Par 3 – Dropping into a virtual abyss, the 3rd hole descends 70 feet from tee to green with the putting surface tucked between trees on the left and a hillside on the right. The apostrophe-shaped green features a narrow landing area at the front and opens up more as it curls toward the top. A signature black bunker hugs the inside bend in the green, so if you are between clubs you are probably better off taking the longer one rather than risking a fried egg lie in the sand.
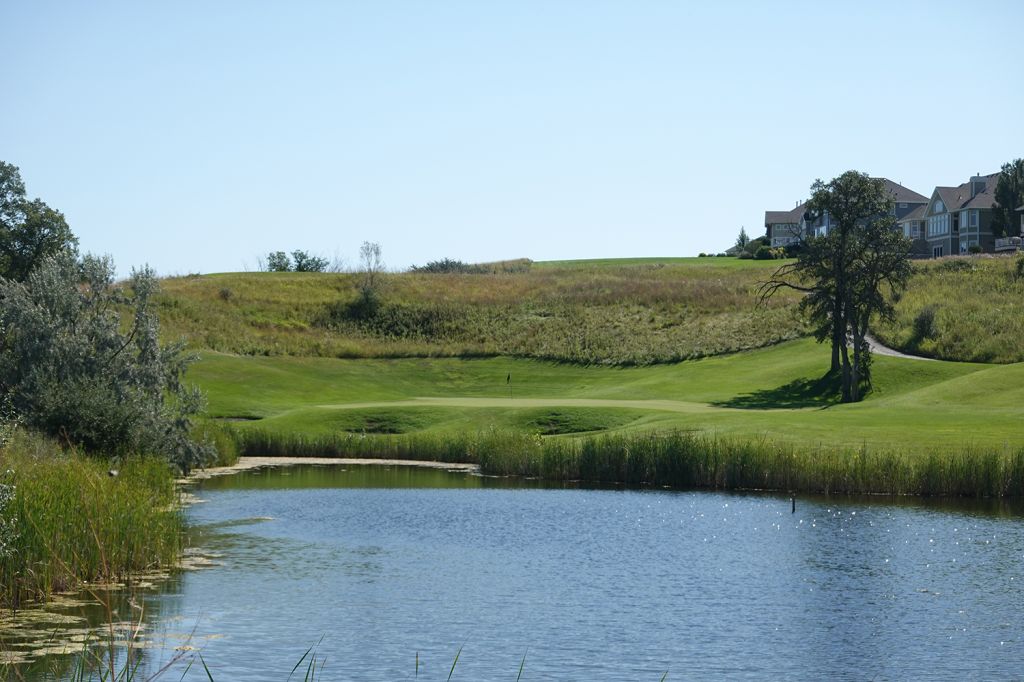
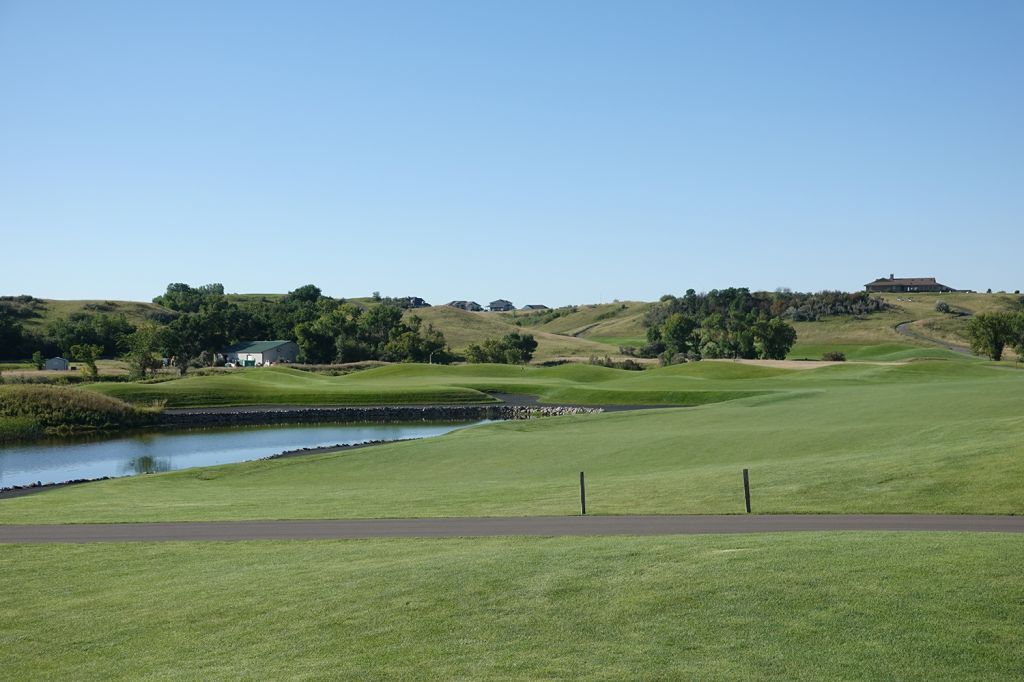
Best Par 3: 15th Hole – 203 Yards – Certainly one of the more unique looking greensites on the course, the 15th is a memorable one-shotter late in the round. The tee shot plays over a pond to a long, skinny green that features an abscess-looking protrusion that jets out to the left towards the water and doubles the putting surface area at the midway depth point. As is a Jim Engh trademark, the green sits in a bowled out area which can allow some shots that are off line to bound back onto the putting surface; especially if you go long.
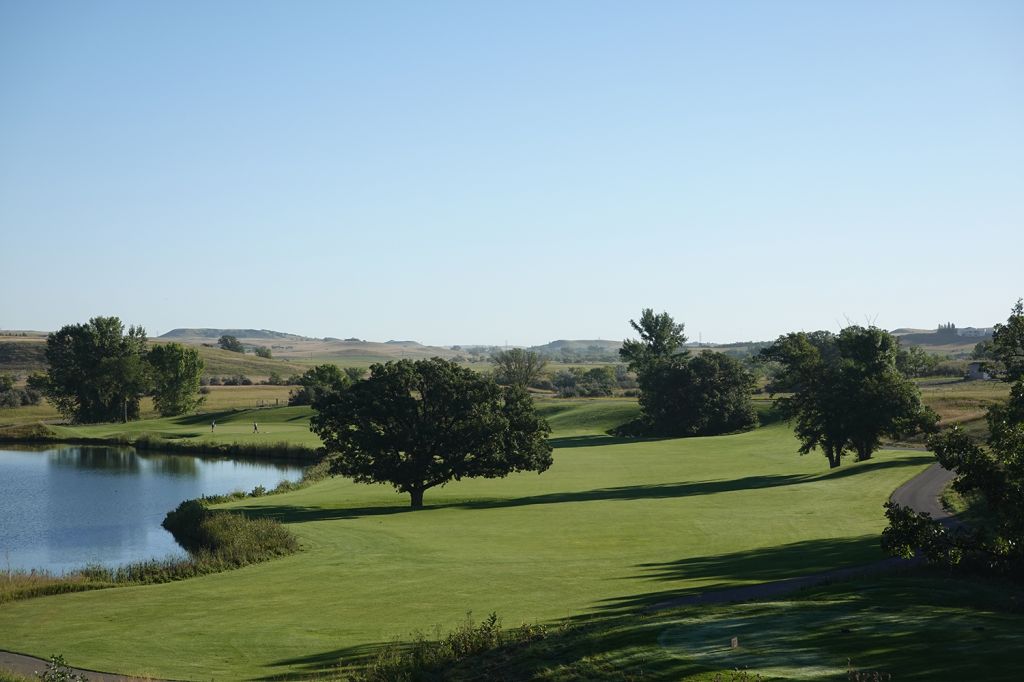
Best Par 4: 4th Hole – 412 Yards – An inviting tee shot awaits at the 4th with two trees framing the fairway to create virtual goal posts for you to send your drive through. The wide fairway slopes slightly from right to the left which should encourage golfers all the more to aim up the right side and stay away from the water flanking the left side of the hole. Engh is known for two bunker styles; small, circular pot bunkers and long "muscle" bunkers that shimmy through depressions. On the 4th hole, players encounter one of each at the green with a pot bunker on the left and muscle bunker on the right. Avoid each of them and you'll have a good scoring opportunity.
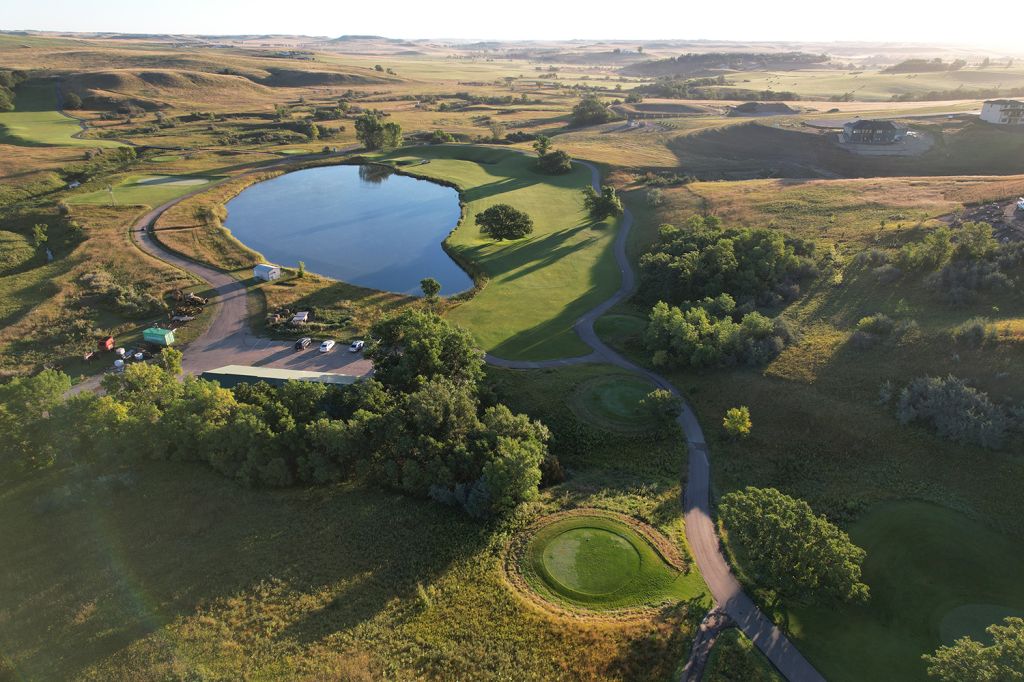
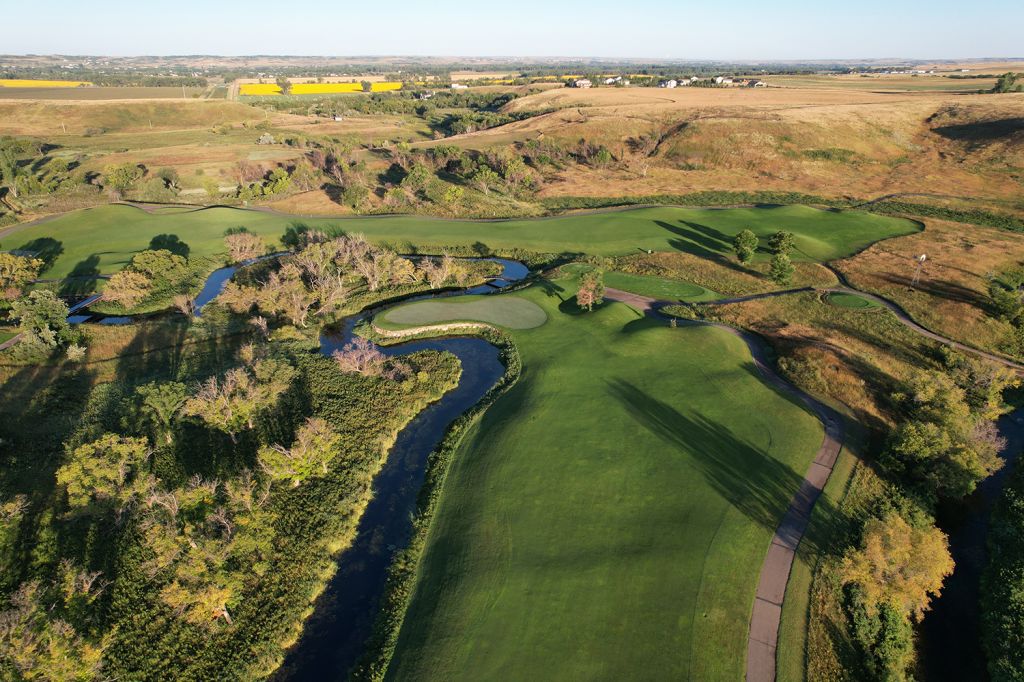
Best Par 5: 7th Hole – 569 Yards – If you've played many Jim Engh courses, then you will recognize some version of the design of this par five. While each of those holes play differently from the tee, it is around the green that should deliver a level of familiarity. On the 7th at Hawktree, the tee shot plays downhill before doglegging right out of view. While there is over 300 yards of room straightaway, players may elect to hit their drive up the right side to give themselves extra rollout room; especially since there is 100 feet of elevation drop from tee to green. A pond appears on the left side and runs all the way up to the green and is flanked on the right by a 150 yard long muscle bunker with a finger of sand poking up at the middle of the green. In addition, mounding around the greensite adds an extra element to consider when approaching the flag from a distance. This risk/reward design makes going for the green in two one of the most memorable shots at Hawktree and one that you can play over and over with so many different results that can occur.
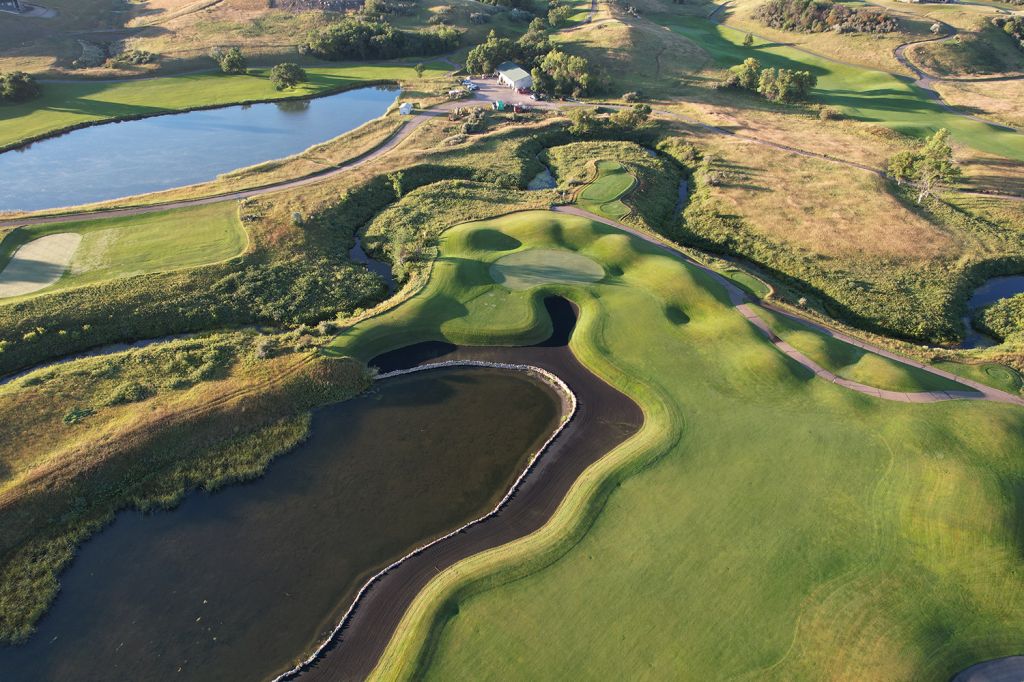
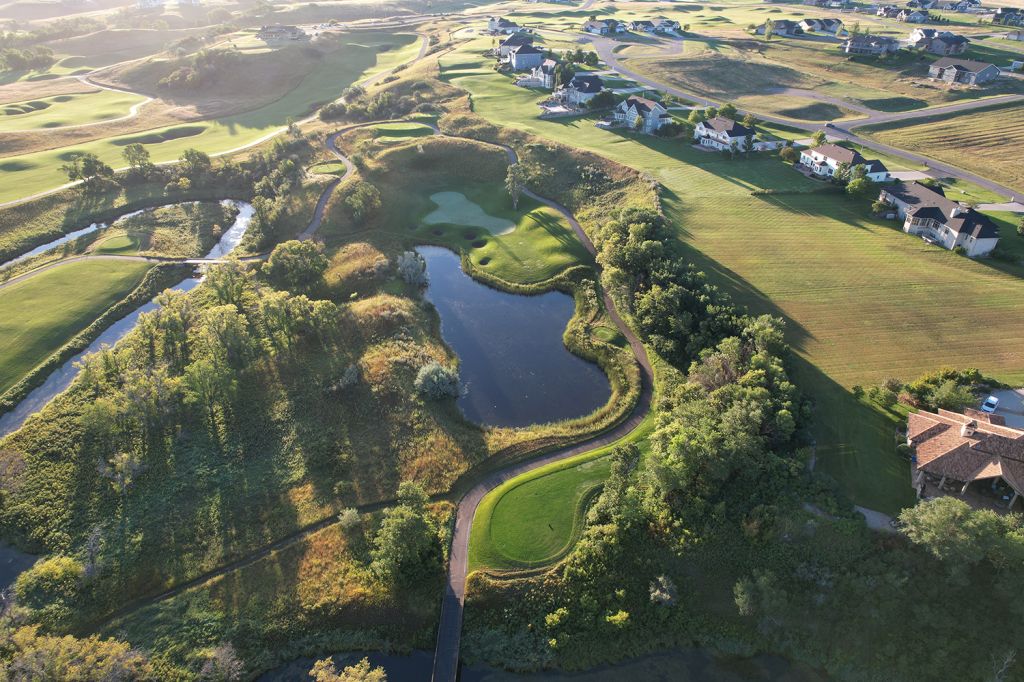
Birdie Time: 16th Hole – 326 Yard Par 4 – Jim Engh is a master of designing holes that are fun to play, but this one might be the best of the bunch at Hawktree. A short par four that features a river up the left side and a peninsula green that jets into it, players have the option of utilizing the 50 foot drop to the green in an effort to carry the ball 285 yards on a straight line to the green. The hourglass green is wide but narrow on that line so players that aren't feeling quite as risky can opt to play up the right side and leave themselves a flip wedge into the green with plenty of green depth to work with. Whether you go for the green or layup and trust your wedge game, this is a great hole and excellent opportunity to card a birdie.
Bogey Beware: 12th Hole – 483 Yard Par 4 – The lengthy 12th is the pinnacle of Hawktree's challenge with a par four tipping at a bit shy of 500 yards. Each side of the fairway is framed by fescue so finding the short grass is critical for a legitimate chance at putting a par on the card. The hole doglegs slightly to the left and features a total of three muscle bunkers; one on the outside of the dogleg and one on each side of the green. Flags in the front third of the green are extremely difficult to get close to since the putting surface is narrow in that location and pinched by black sand on each side. If you are lucky enough to have a rear position flag then you'll have much more putting surface to work with and can potentially use the mounding around the green to tumble your ball into a favorable position. Fours here aren't common, so if you manage to card one, give yourself a pat on the back.