 Golf Course Review by: Billy Satterfield
Rankings:

The Takeaway: McLemore enjoys a dramatic setting that gets flat out extreme at times. While it isn’t a course you’d want to play everyday, the impressive views and finishing hole are worth the trip alone. Grade B-
Quick Facts
Designer: Rees Jones and Bill Bergin 2019
Cost: $250+ for stay and play packages Click for current rates
Phone Number: 800-329-8154 x-6
Course Website: Official Website - Visit McLemore Club's official website by clicking on the link provided.
Directions: Get here! - 32 Clubhouse Lane, Rising Fawn, Georgia 30738 – UNITED STATES
Photos: See additional photos of McLemore Club
What to Expect: Located in the northwest corner of Georgia, McLemore is a wild ride that at times feels like you've taken your golf ball on a trip to an amusement park. The opening holes are good with the long par four 2nd standing out the most as a dramatic and difficult hole to contend with. It doesn't take long to see that the mountain setting creates extreme elevation changes throughout the course but none more crazy/dramatic than the approach shot on the par five 6th. The shot plays 58 yards shorter than the actual distance and will be blind for virtually all players. Goofy? Probably. Memorable? Without question. However it is the closing hole that put McLemore on the map and it absolutely lives up to the hype that has surrounded it ever since being recognized as one of the best finishing holes designed in recent years. Being that this truly is a mountain golf course, it has an unwalkable routing and will require players to take a cart to play it. What that mountain setting offers more than anything are fantastic views that you'll enjoy throughout the day. The extreme elevation changes and quirky design features are akin to Wolf Creek in Mesquite, NV where some shots are just hard to believe. In the end, McLemore lives up to its "Above The Clouds" theme in the mountains and delivers a memorable experience, however the extreme nature of the design can be a turnoff for daily play.
By the Numbers
| Tees | Par | Yardage | Rating | Slope |
|---|---|---|---|---|
| I | 71 | 7005 | 74.0 | 140 |
| II | 71 | 6618 | 72.0 | 138 |
| Member | 71 | 6351 | 70.7 | 136 |
| III | 71 | 6101 | 69.6 | 130 |
| IV | 71 | 5478 | 67.6 | 127 |
| V | 71 | 4870 | 64.4 | 121 |
| VI (Women) | 71 | 4253 | 65.0 | 114 |
Individual Hole Analysis
Signature Hole: 18th Hole – 435 Yard Par 4 – One of the most dramatic and recognizable inland finishing holes in the world. That is a bold statement, but once you get there you will struggle to disagree. A literal cliffhanger, the par four 18th clings onto the mountain edge and sits 1,000 feet higher than the ground just 1,000 yards to the east. The entire left side of the hole is supported by boulders and you won't find a bunker until you get greenside. The tee shot is both exhilarating and nerve-wracking as players play along what feels like the edge of the world. The natural terrain slopes hard from right to left so it is best to play your tee shot up the right half of the fairway and let Mother Earth move the ball to the center where the green is best attacked from. The approach shot plays ½ club longer than the number, so be a little more aggressive with your distance and try to flag one to finish the round at McLemore.

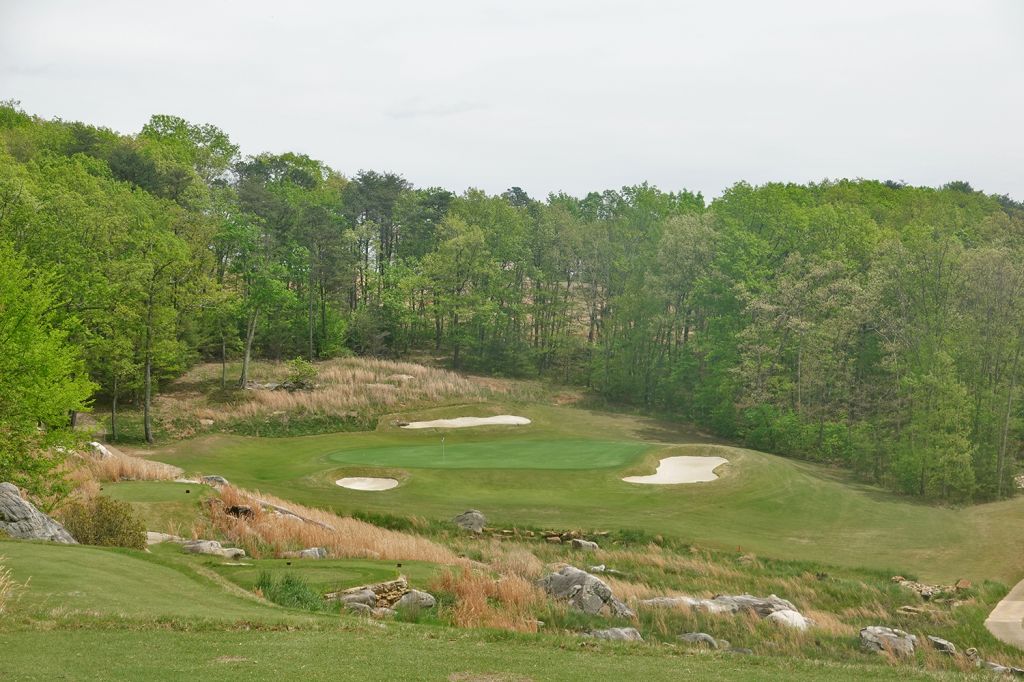
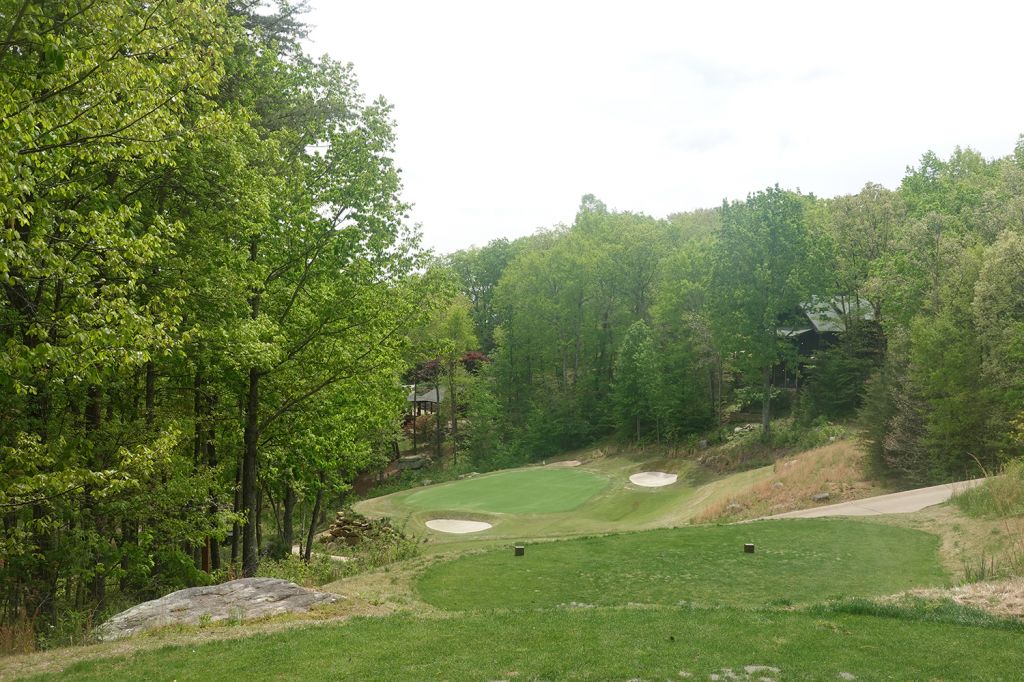
Best Par 3: 7th Hole – 192 Yards – Playing a half to full club shorter than the number, the downhill 7th is carved out of an opening in the trees with a mostly dry creek fronting the green. A trio of bunkers surround the putting surface with their depth being a legitimate concern to anyone that isn't confident in their sand game. Much of the experience at McLemore is the isolated feeling and dramatic elevation changes; both of which are found here.
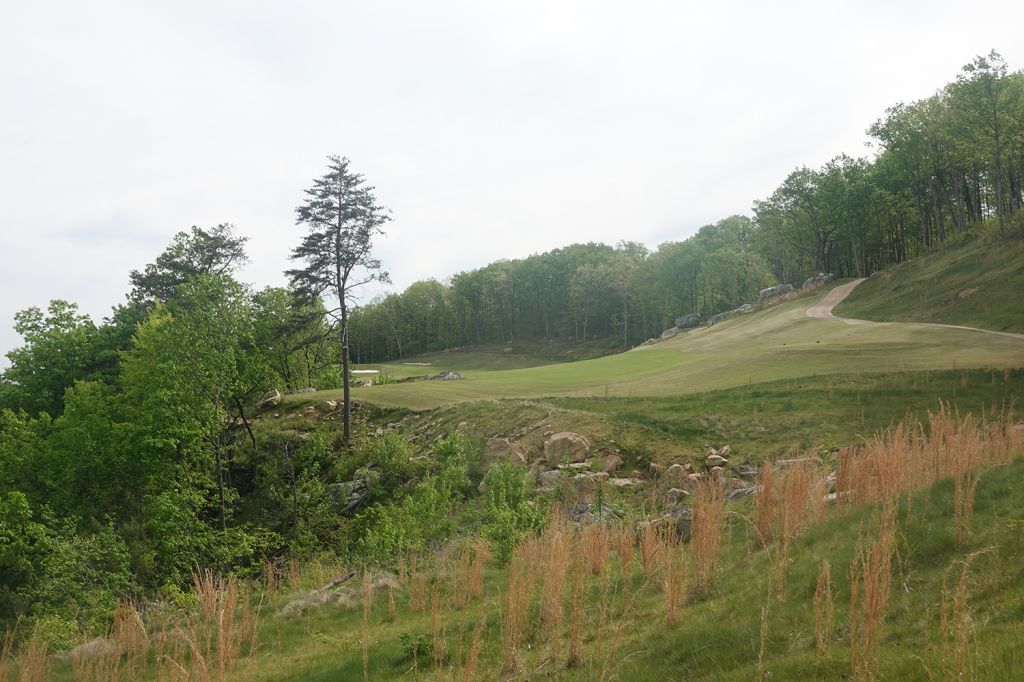
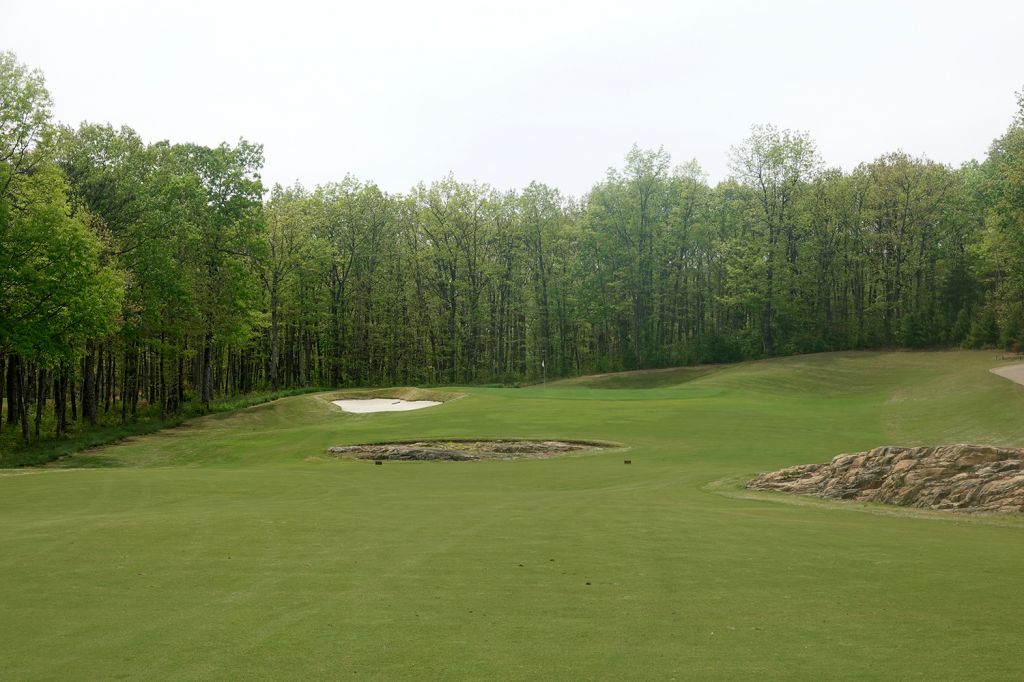
Best Par 4: 9th Hole – 441 Yards – The closing hole on the front nine tests your game with it playing steadily uphill to the green. The tee shot plays over natural ledgestone that front the fairway before the hole banks to the left with more rock outcroppings coming into play. The elevated approach shot to the green needs to avoid the deep bunkers and false front in order to find success.
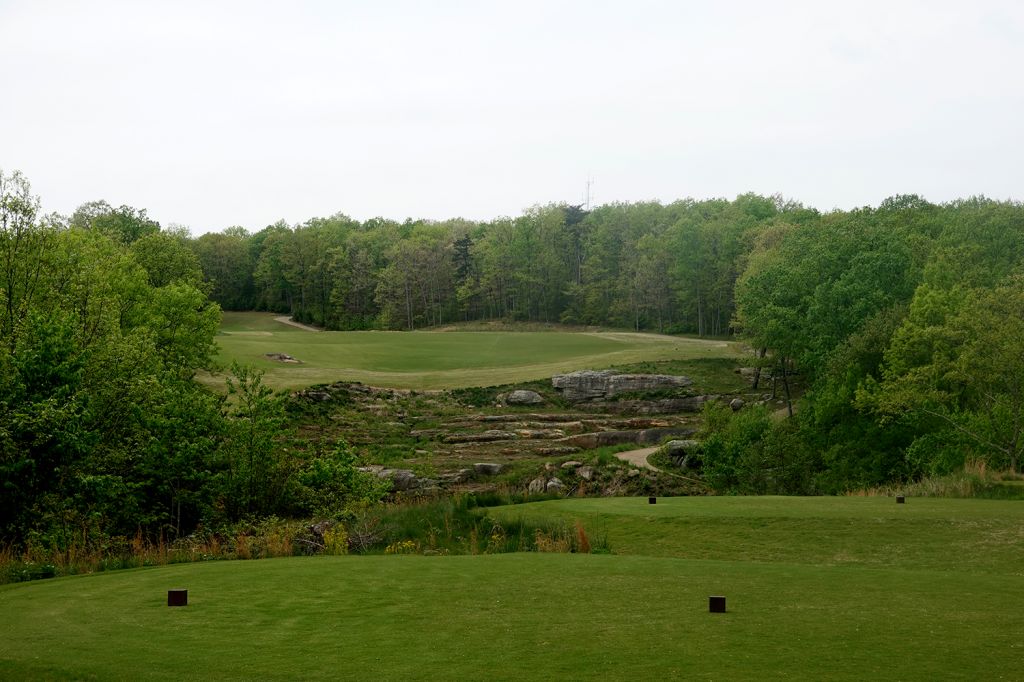
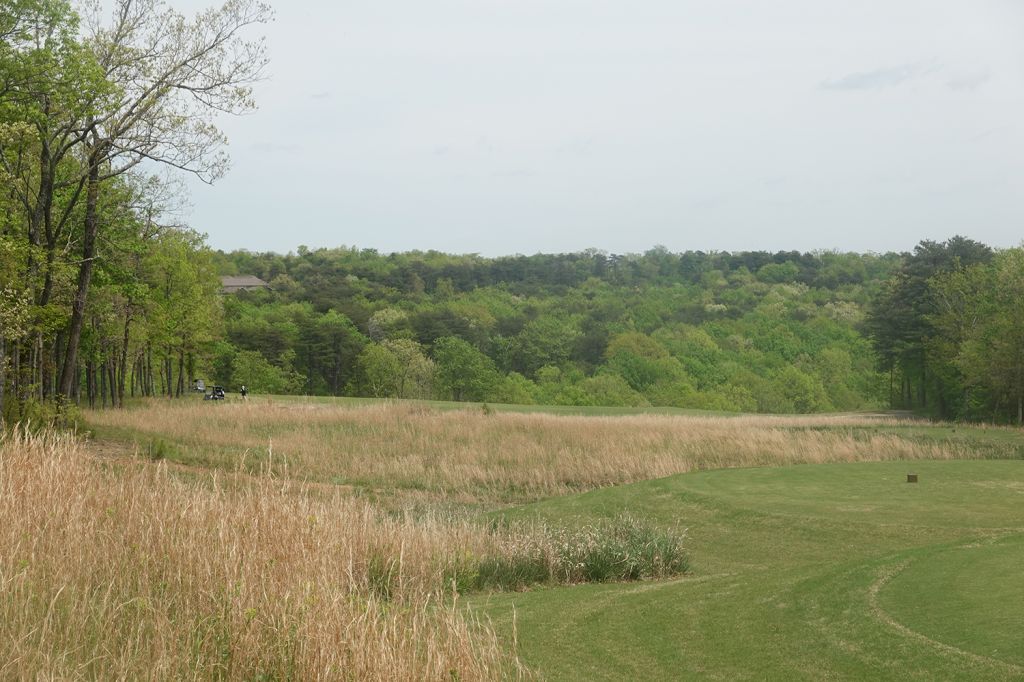
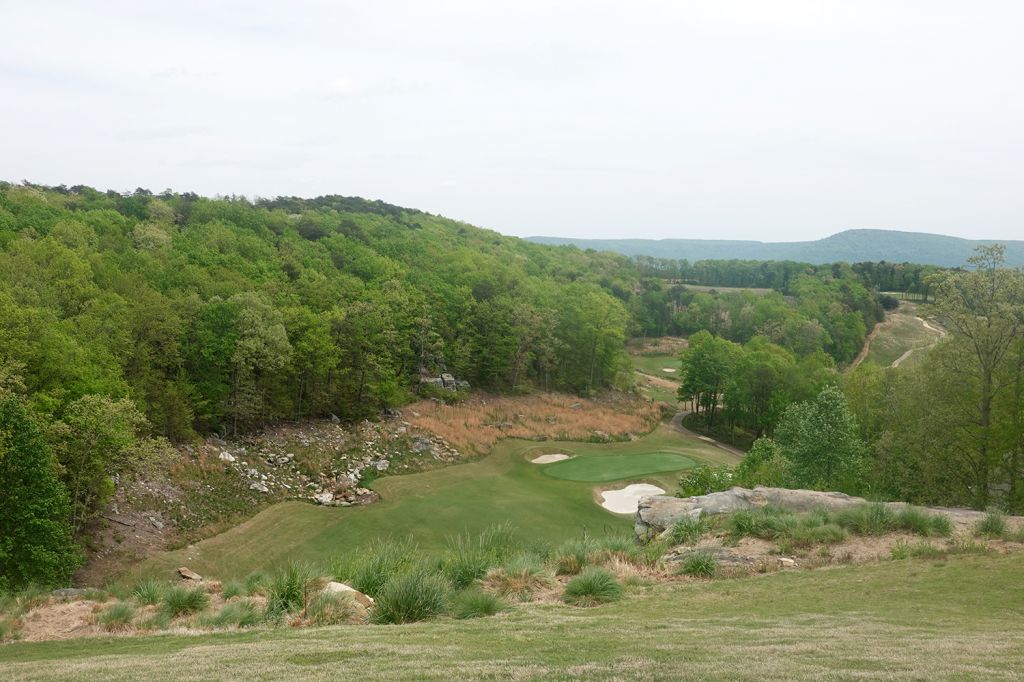
Best Par 5: 6th Hole – 548 Yards – I'm not sure which hole is more memorable between the 6th and 18th, but I know for sure that the 6th will be the most controversial. What appears to be a benign par five at first with a pedestrian straightaway tee shot to a wide fairway quickly changes to an exciting opportunity to hit the most compelling shot on the course. As players reach their ball and see the fairway end straight ahead, they turn to the right and see the terrain tumble 50 feet downhill with a new fairway picking up at the bottom and traversing southeast towards the green that is protected by a trio of bunkers. The fairway slopes to the right so favoring the left side on your approach shot gives players the best chance of using the hillside to feed balls onto the putting surface. A back right pin is the most difficult to get close to with two of the bunkers flanking that side.
Birdie Time: 3rd Hole – 148 Yard Par 3 – After coming off the 2nd hole, players are ascended right back up a hill for another 50 foot drop from tee to green for the short par three 3rd. One bunker sits short left while the other is deeper on the right side which creates an inviting opening on the right third of the green. With a scoring club in your hand, there should be little fear in taking dead aim at the flag unless it is tucked too far on the left where there is an immediate fall off beyond the green.
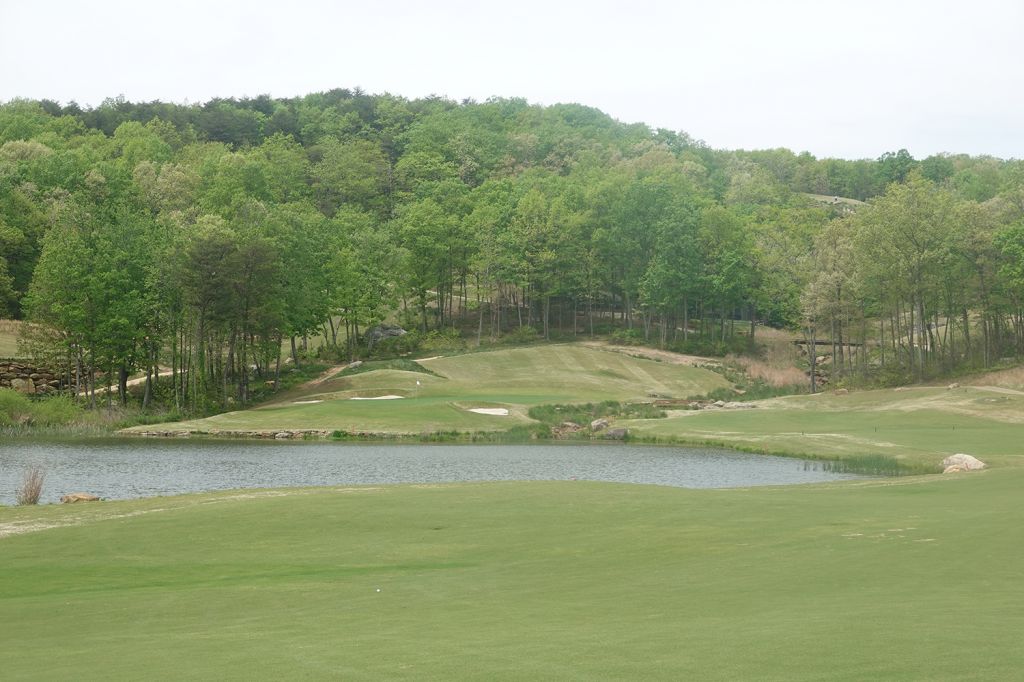
Bogey Beware: 2nd Hole – 449 Yard Par 4 – While the 18th is all-world, I'm hard pressed to decide between it and the 2nd hole as my favorite to play on the property. A stout par four, the 2nd drops over 50 feet from tee to green and has water come into play twice. A 300 yard tee shot towards the pond will find itself wet, so skirting it to the right is the ideal play while trying to not bail out too far and make the approach shot more challenging than it needs to be. The second shot will need to contend with a creek that bisects the fairway from the green on the right side while a pair of bunkers rest greenside as well. It is the most difficult green to reach in regulation on the course, and missing the green has many more poor outcomes than welcome ones.