 Golf Course Review by: Billy Satterfield
Rankings:

The Takeaway: Yarra Yarra has some of the best putting surfaces in the world which is complimented by an absolute top shelf group of one-shotters. The back and forth routing lacks imagination and the par fives are short by today’s standards, but Yarra has great bunkering, is an easy walk, and you’d rarely lose a ball playing it. Grade B-
Quick Facts
Designer: Alex Russell 1929
Cost: Private
Phone Number: +61 3 9575 0510
Course Website: Official Website - Visit Yarra Yarra Golf Club's official website by clicking on the link provided.
Directions: Get here! - 567 Warrigal Road, Bentleigh East, Victoria 3165 – AUSTRALIA
Photos: See additional photos of Yarra Yarra Golf Club
Similar Course:
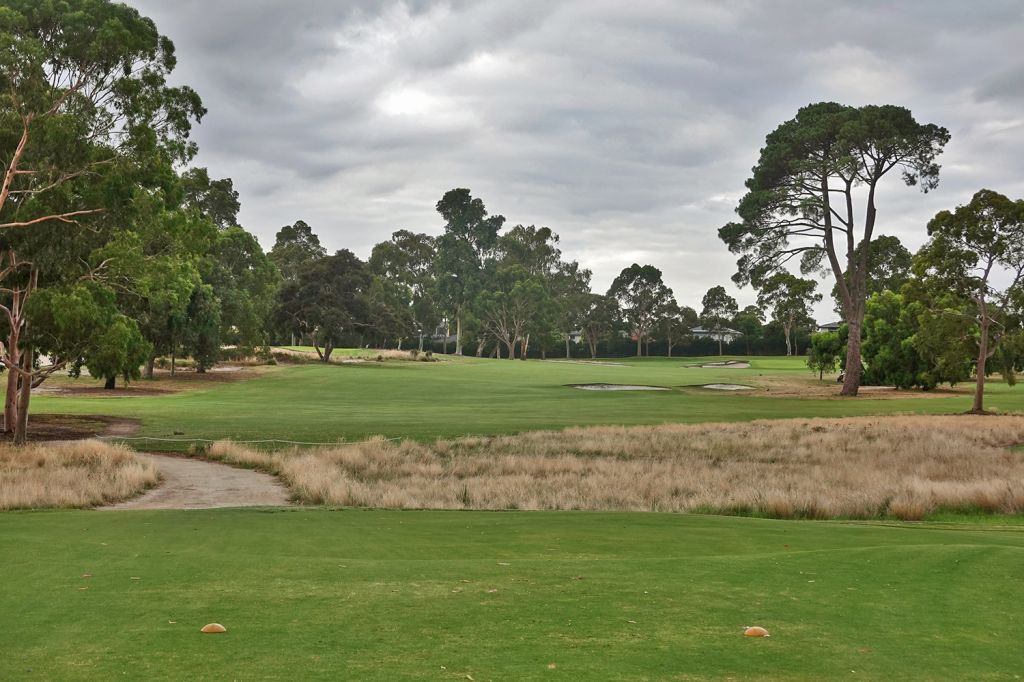
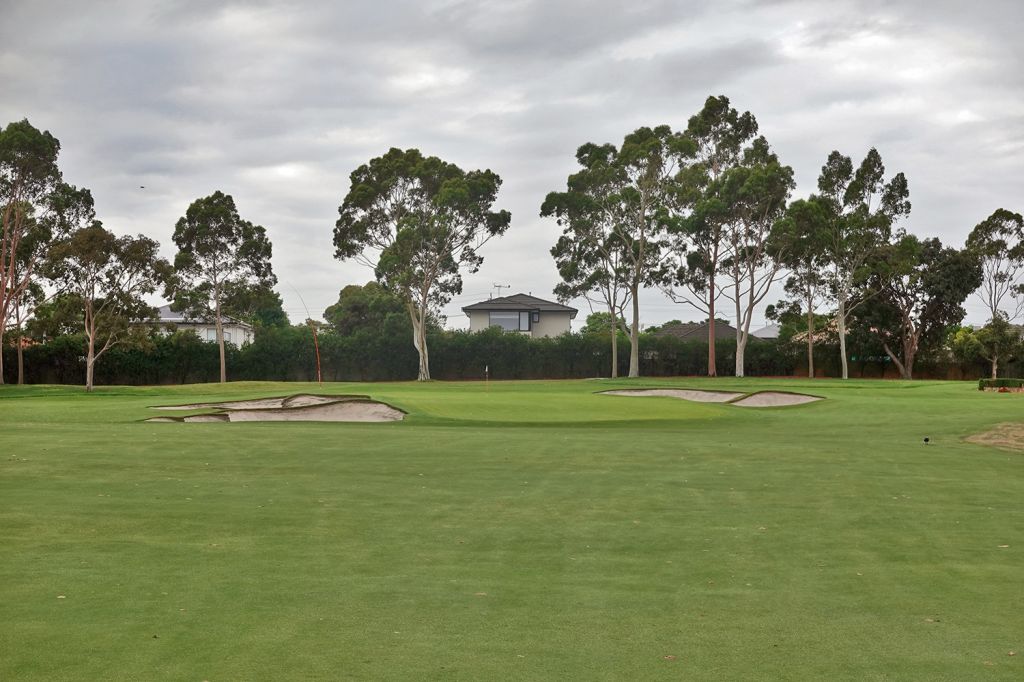
What to Expect: Designed by Alex Russell, Yarra Yarra captures the essence of Golden Age architecture - bold bunkering, thoughtful angles, and an unrelenting demand for precision. Yarra Yarra stands tall on its own architectural merit as the course flows gracefully over gently undulating land that provides a comfortable walk and where wide fairways tempt aggression, but penalize carelessness through cunning green complexes and cavernous Sandbelt bunkers that flash high and deep. Each hole feels distinct, with Russell’s routing showcasing variety and rhythm. The par 3s are world-class, the conditioning is perfection, and the greensites are the envy of the Southern Hemisphere. Modern restoration work, led by Tom Doak and Clayton, DeVries & Pont, has returned Yarra Yarra’s character to its roots. The greens are firm and true, and the fairways present that perfect Sandbelt "bounce" with tight turf that demands crisp strikes. The bunkers, beautifully scalloped and strategically placed, frame holes rather than merely punish, guiding the eye and influencing decision-making throughout the round. Yarra Yarra delivers every bit of the Sandbelt magic - artistry in bunkering, subtlety in greens, and a routing that challenges the intellect as much as the swing. For students of architecture or lovers of strategic golf, this is sacred ground.
By the Numbers
| Tees | Par | Yardage | Rating | Slope |
|---|---|---|---|---|
| Blue | 72 | 6671 | 73.0 | 127 |
| Gold | 72 | 5853 | 72.0 | 126 |
Individual Hole Analysis
Signature Hole: 15th Hole – 160 Yard Par 3 – The short but striking 15th is a quintessential Sandbelt par three. Though modest in length, the hole demands absolute precision to a well-protected green framed by deep bunkering. The putting surface features a large tier that will test your putter, as getting on the wrong level can quickly yield three-putts. When the wind swirls, this picturesque hole becomes far more difficult than the yardage suggests and results in giving the surrounding bunkers a workout. This hole stands next to Kingston Heath's 15th and Royal Melbourne West's 5th as the best one-shotters on the Sandbelt.
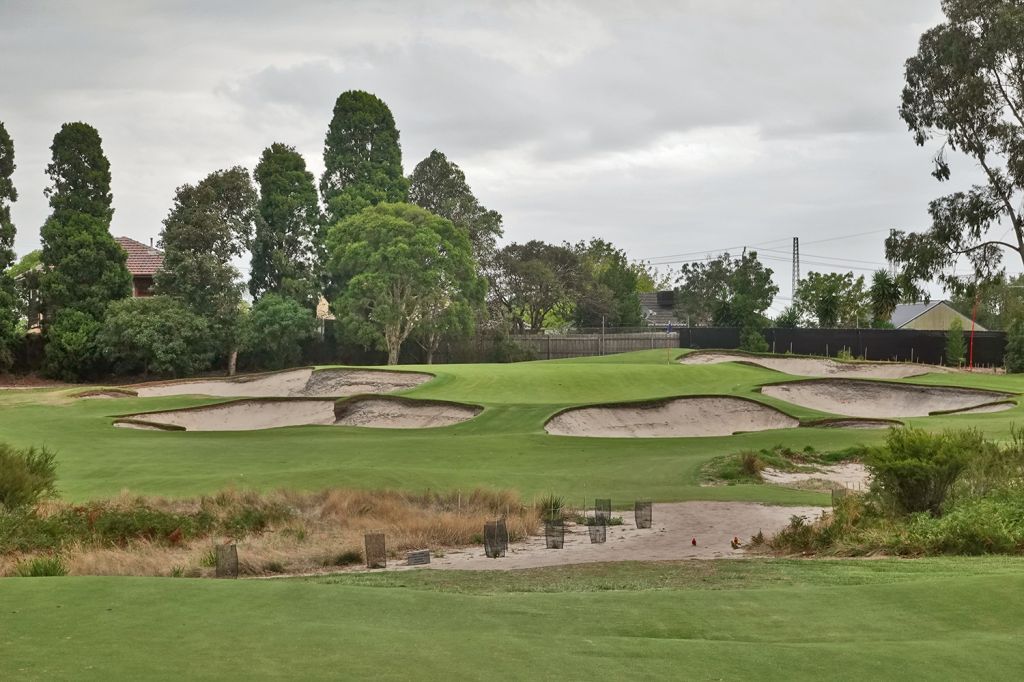
Best Par 3: 11th Hole – 183 Yards – The 11th at Yarra Yarra Golf Club is one of those holes where the architecture does almost all of the talking. From the tee, the first thing that grabs your attention is the huge bunker complex that spans across the front of the green, creating an intimidating visual target, while additional sand in the rear eliminates the opportunity to bail out. The multi-tiered green is set diagonally to the line of play, meaning the golfer cannot simply aim at the middle and expect an easy result. The severity of the challenge changes significantly simply by moving the pin to one of a few devilish locations. The severe contours and magnificent bunkering makes this one of the great par threes of the Melbourne Sandbelt.
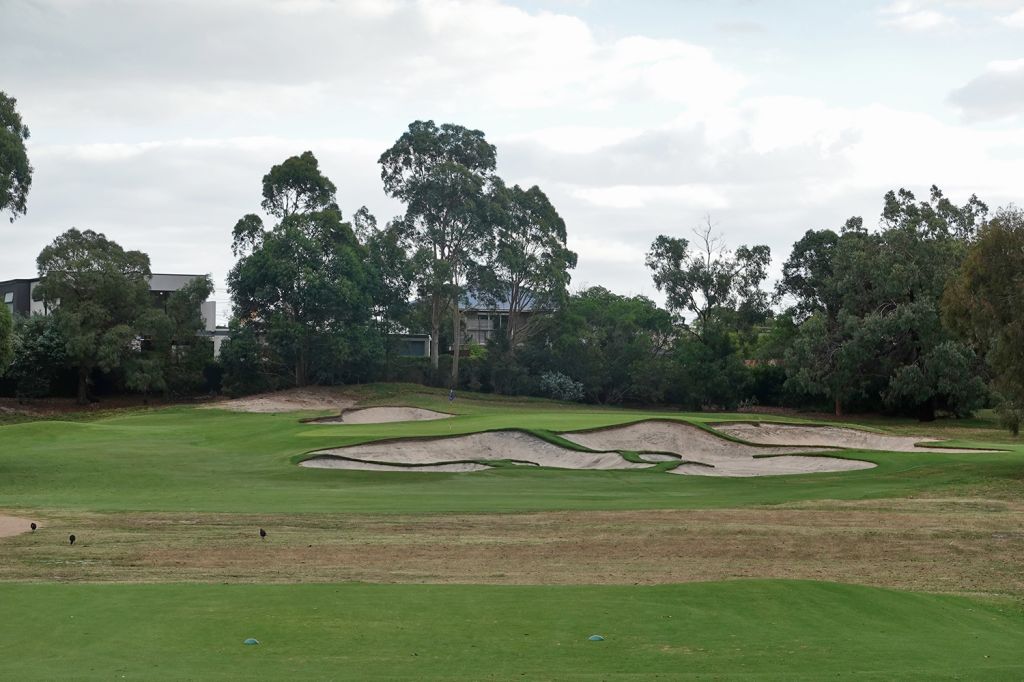
Best Par 4: 12th Hole – 402 Yards – Located along the southern boundary of the property, the 12th is a strategic par four that asks for placement from the tee. Bunkers sit on the inside corner of the dogleg and push golfers to the left side of the driving zone. From there, an approach shot is played to a subtly contoured surface guarded by bunkers at each of the front corners, as well as a third bunker long and left. The green is slightly raised and requires a well struck shot to avoid the sand and hold the putting surface. The back nine starts with some high quality holes, and this classic dogleg right is among them.
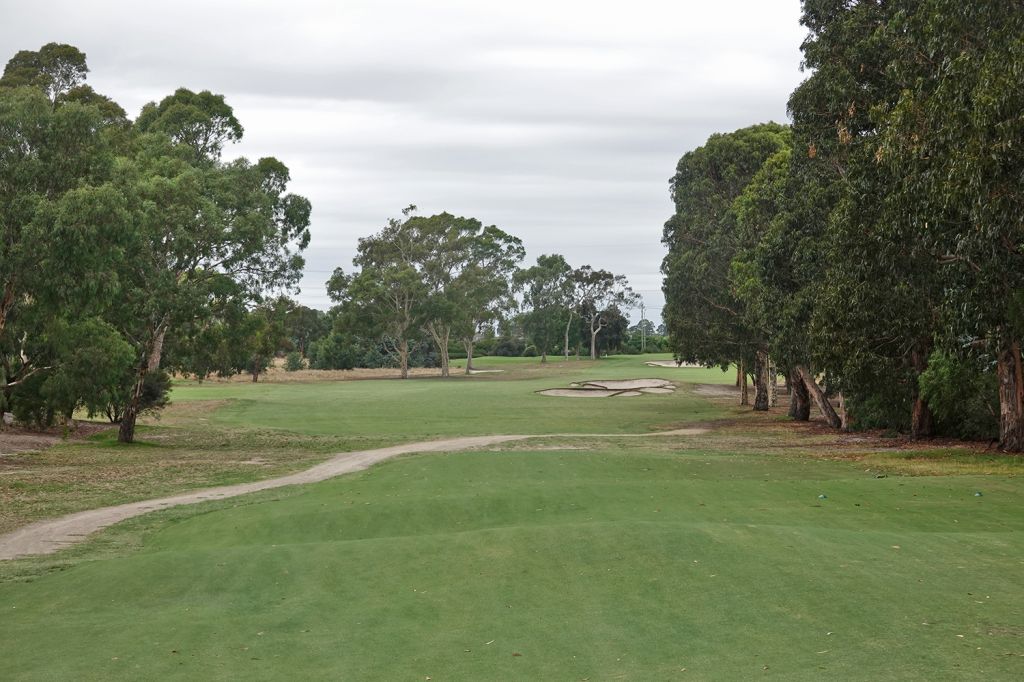
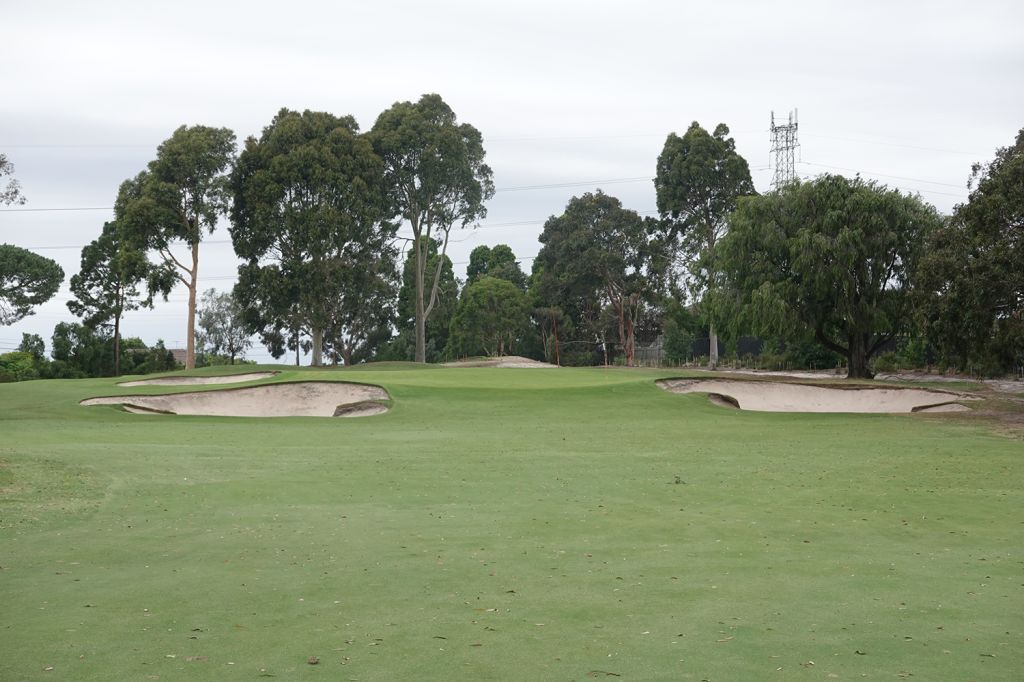
Best Par 5: 8th Hole – 552 Yards – By far the weakest part of Yarra Yarra is the quality of the par fives, but the 8th is the best among the group. Big hitters should have their sites set on reaching the green in two by hitting a baby fade off the tee that follows the bend in the fairway before attacking the green that has bunkers on each side. The entrance to the putting surface is wide open, so being aggressive with your approach shot is often rewarded. The first of back to back par fives, closing the front nine with a pair of birdies is certainly in play.
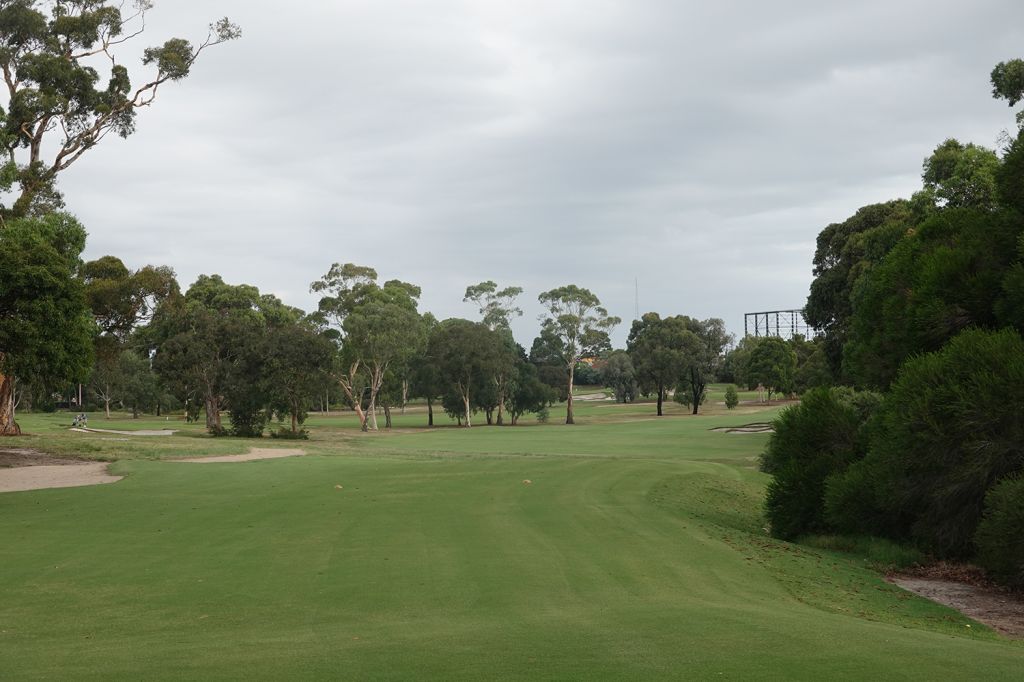
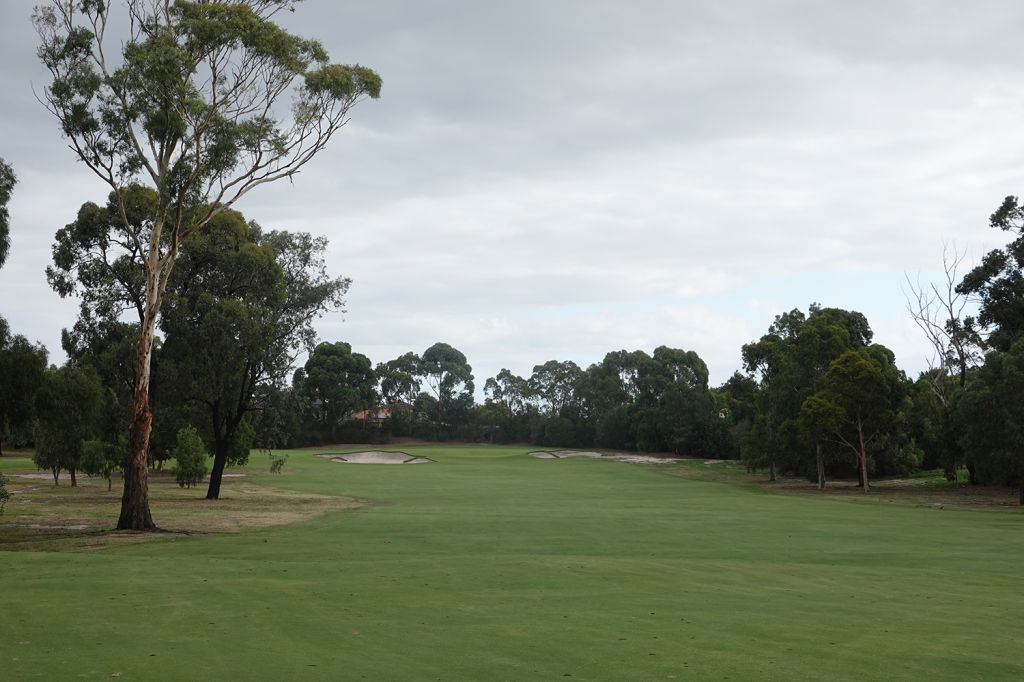
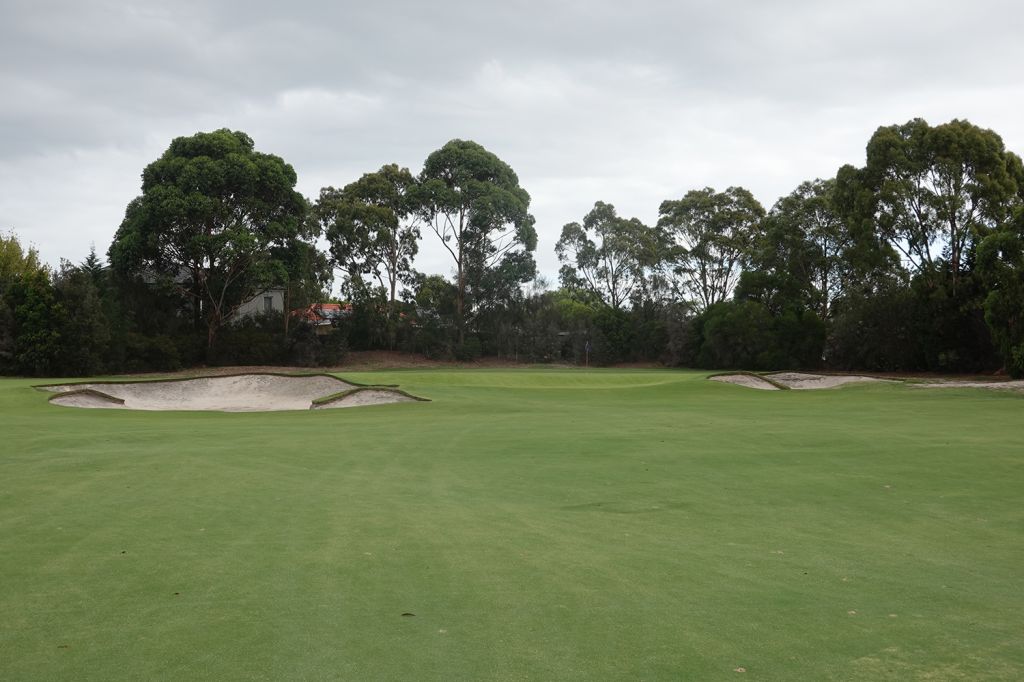
Birdie Time: 18th Hole – 489 Yard Par 5 – While the drive par four 5th hole is the prime birdie opportunity on the front, the 18th hole should be the place where every player is licking their chops. Measuring less than 500 yards, this par five is reachable in two for the majority of players and a great opportunity to score. Avoiding the fairway bunkers on the left is critical to success, and then it is time to be aggressive attacking the green that is wide open in the front. Long hitters will have an iron in hand on their final approach shot, and finding the green almost guarantees birdie.
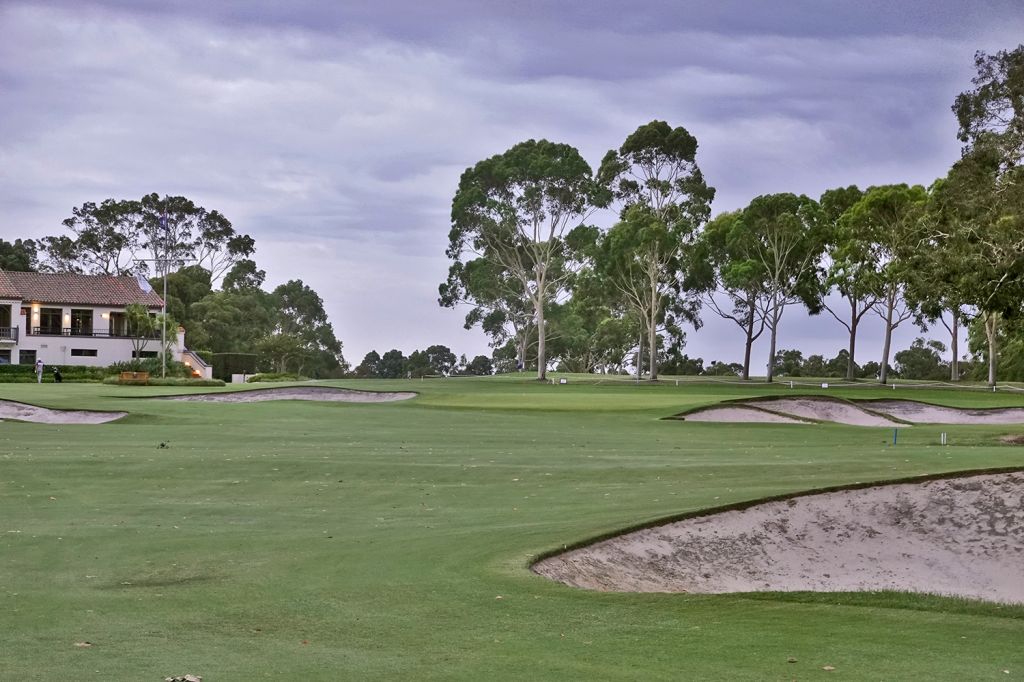
Bogey Beware: 13th Hole – 459 Yard Par 4 – Playing slightly uphill and measuring as Yarra Yarra's longest par four, the 13th will test your merit. A subtle rightward tilt influences both the ball's bounce and the player's decision-making. The temptation is to challenge the inside of the dogleg for a shorter approach, yet the penalty for greed is immediate with two bunkers waiting to catch balls. The contoured green asks for a draw to come in from the right and avoid the bunkers in front and behind the putting surface. Hitting this green in regulation is a feat, and saving par after missing it is far from a routine task.